Meet the new Beebole: Time tracking and resource planning, merged into one powerful platform
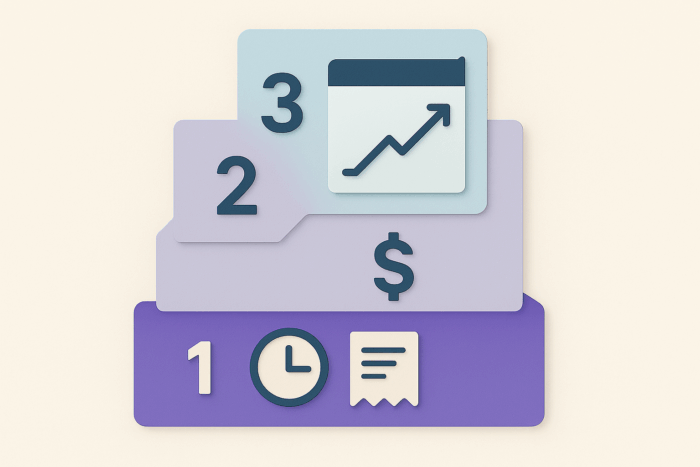
Plan resources, track time, and see project financials — all in one place In the last 18 years, we’ve been listening to our customers. There was a common thread throughout all of our demos and conversations: project plans in one tool, time tracking in another, margin calculations in a spreadsheet. This wasn’t because teams preferred […]