

How projects are organized
Beebole uses a flexible hierarchy with three building blocks:- Categories — The broadest grouping. A new account starts with Client, Internal, and Activity. Each project belongs to exactly one category.
- Projects — The engagements or work streams inside a category, such as a client account or an internal initiative.
- Subprojects — Smaller pieces of work nested under a project. There is no fixed depth limit unless you limit a category to its named levels, and each category names its own levels (for example, the Client category starts with the levels Project and Subproject).
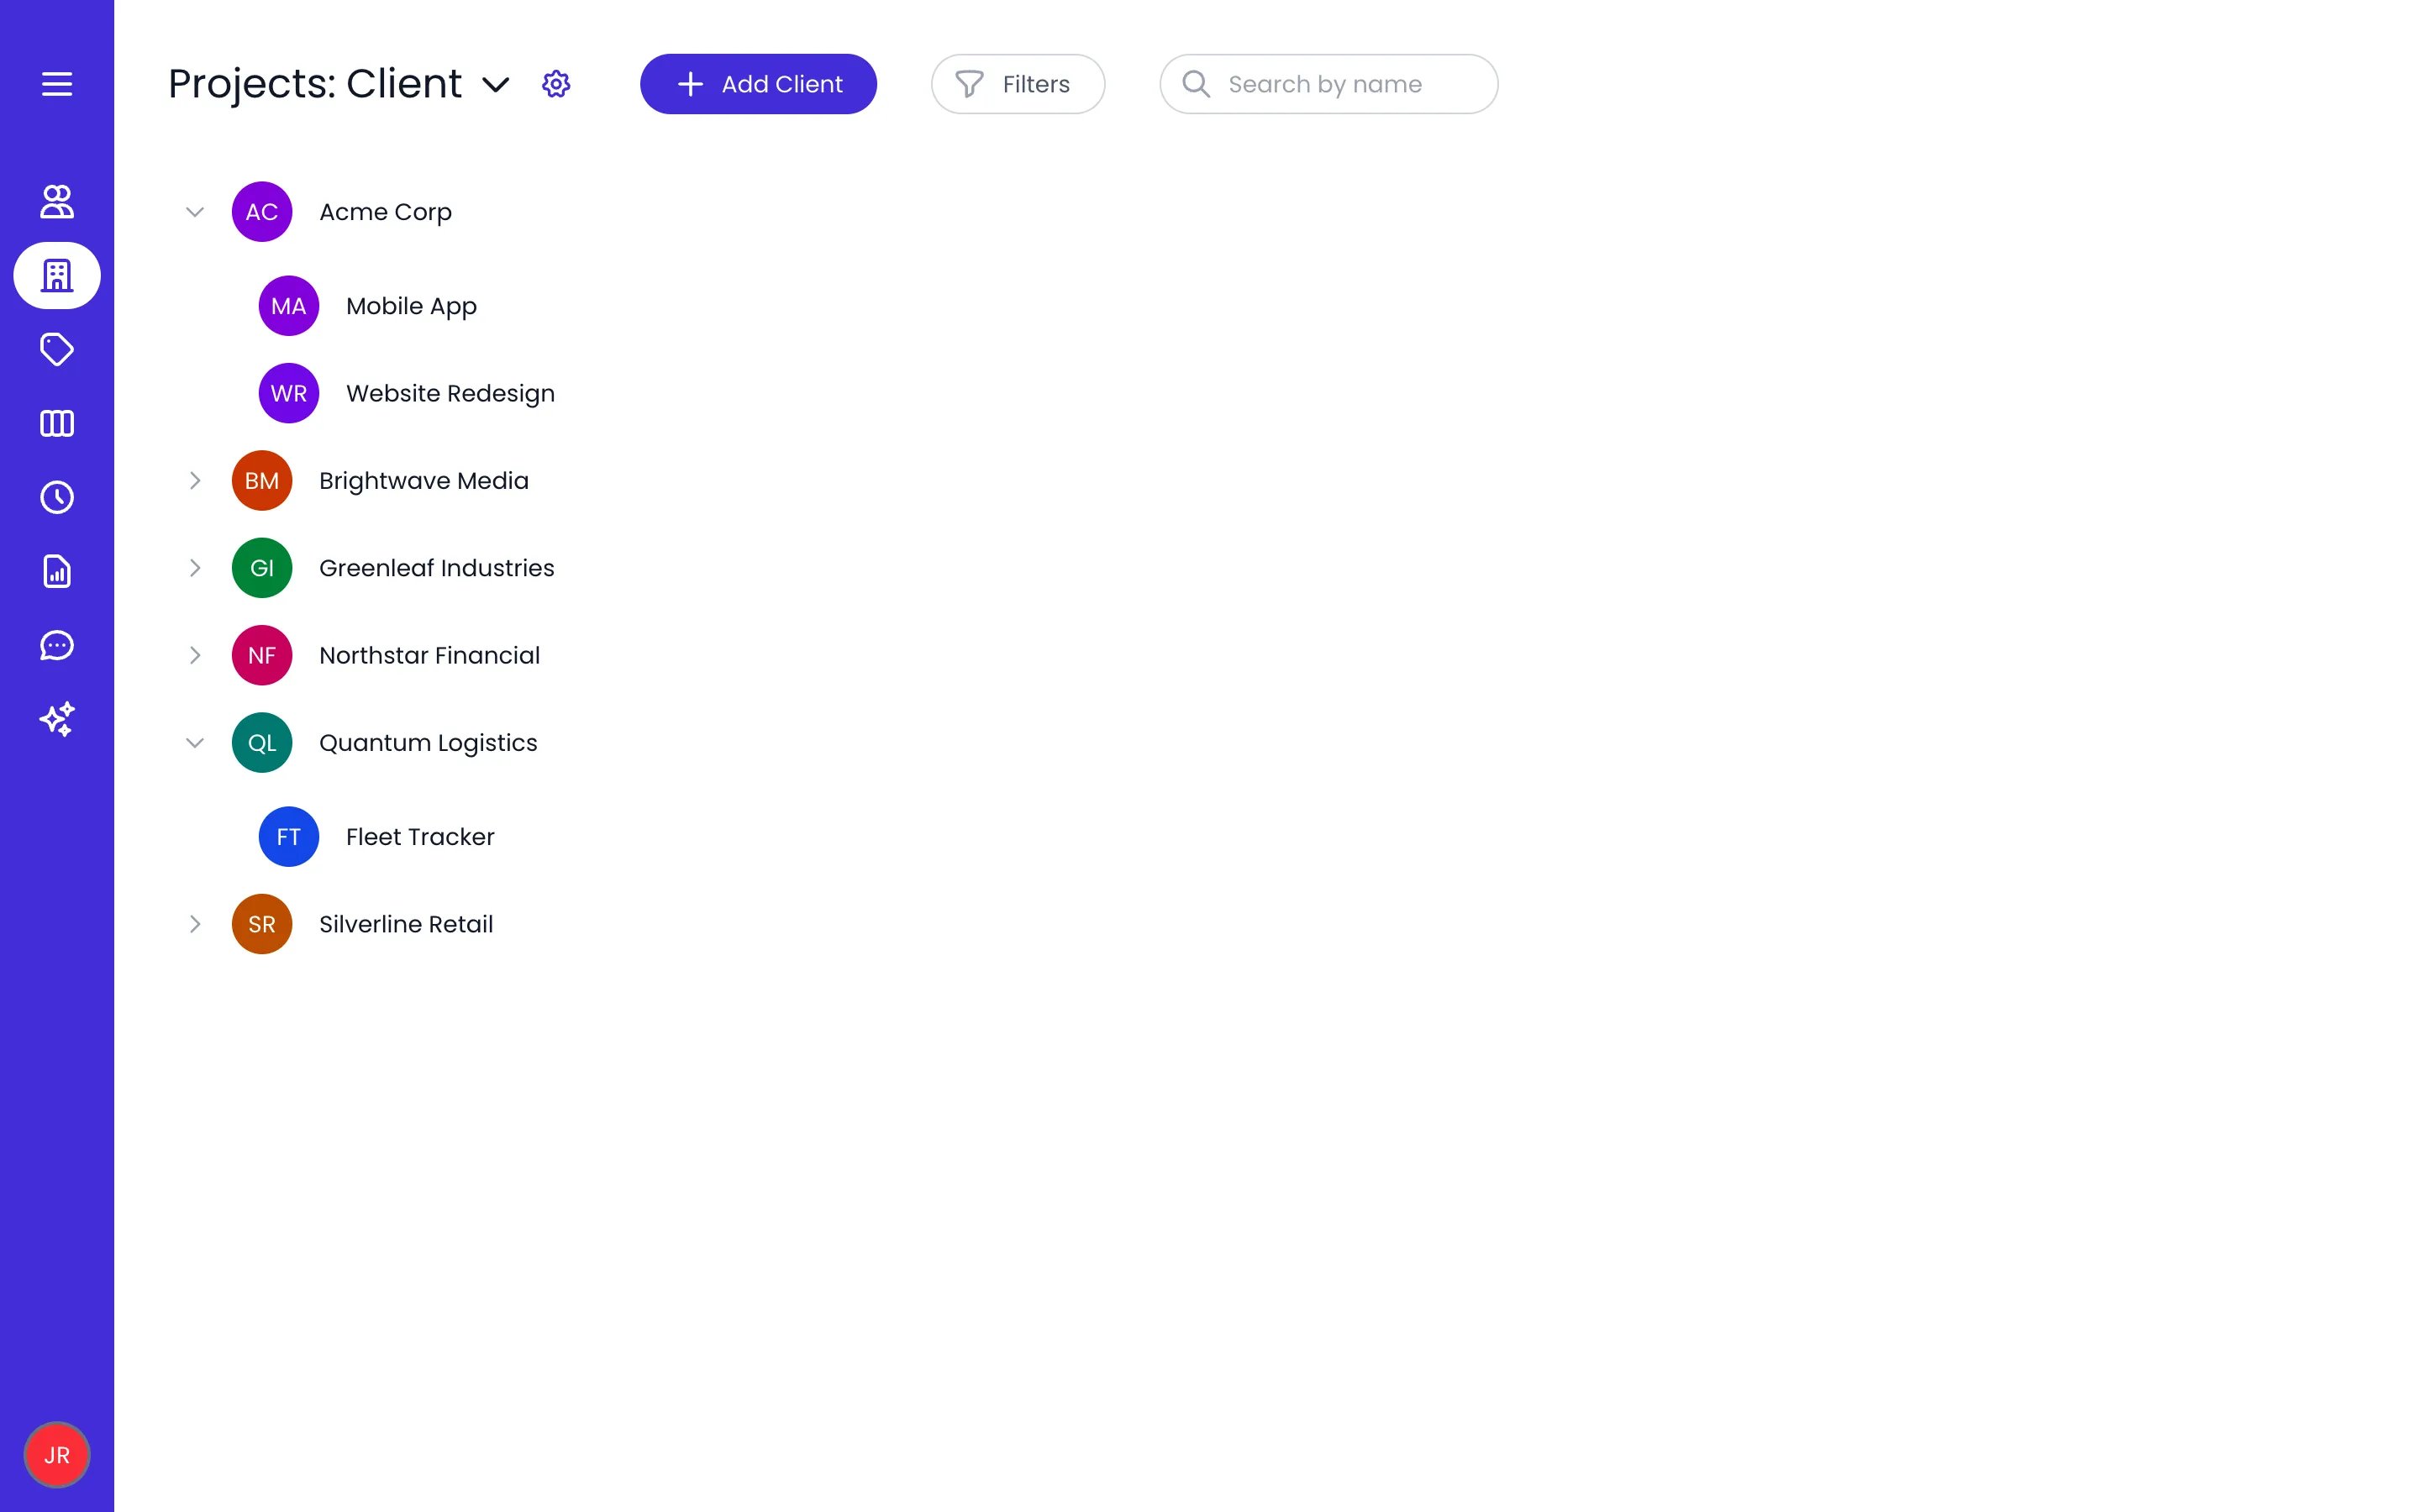
The Client category with two clients expanded into their projects
Only the lowest level accepts time
Time is always recorded at the bottom of a branch. A project that has active subprojects aggregates their time in reports and cannot be recorded against: the project pickers only offer the lowest level, and an entry that still reaches a parent is refused with You cannot record time on a project that has sub-projects. Archived subprojects don’t count, so archiving the last subproject of a project hands the parent back as a bookable one. Tasks follow the same rule — a task with subtasks aggregates its children and cannot carry time either.Secondary projects
A secondary project is a project picked after the main one on the same time entry. It exists when a timesheet section chains several project categories. A new Beebole account tracks time on Client, then Activity: each entry names a client project first (the main project), then an activity (the secondary project). Every project after the main one must belong to the category set for its level (here Activity) and be available under the main project. Setting them up takes two steps:- Chain the categories. In the timesheet settings, put the secondary category after the main one in a row of Record time on these project categories, for example First Client, then Activity.
- Choose which secondary projects each main project offers. Show all secondary projects, in the Show or hide by default panel of Account Settings, makes every secondary project available everywhere; it is on in a new account. To narrow it, open the Show or hide panel of a project, a person, or a tag. Its switch picks All secondary projects available or No secondary projects available, and the list below it holds the exceptions, individual projects or whole categories: Hide secondary project when all are available, Show secondary project when none are. A setting on the main project, one of its parents, or their tags takes precedence over one on the person or their tags.
Creating a project
Creating a project in Beebole
Open the Projects page
Pick a category
Add the project
Add subprojects (optional)
Adding subprojects from the list
The + button on a project’s row adds items under that project without leaving the list. Its tooltip reads Add followed by the level name, for example Add Subproject, and the same text is the placeholder of the name field it opens.- Press Enter to create the subproject. The field stays open for the next one, so you can type several names in a row.
- Click elsewhere to create what you typed and close the field, or press Escape (or click the ✕ at the end of the field) to close it without adding anything.
- Paste a list into the field to create several subprojects at once: one name per line, or names separated by semicolons on a single line. Indent lines with Tab or spaces to nest them under the line above. Hovering the field shows the hint Enter a name or paste a list (one per line or separated by ;).
- Hold ⌘ (Ctrl on Windows) and click the + to open the full add form instead (⌘+Click to open the form).
Adding several projects at once
When the add panel is open, use the Or add multiple entries area below the name field:- Copy rows from a spreadsheet — one entry per line, using Tab or spaces to indent sub-levels.
- Click Paste.
- Review the entries in the Import preview. Click the × on a row to leave it out.
- Click Import entries — the button shows how many entries will be created. If something looks wrong afterwards, click Undo.
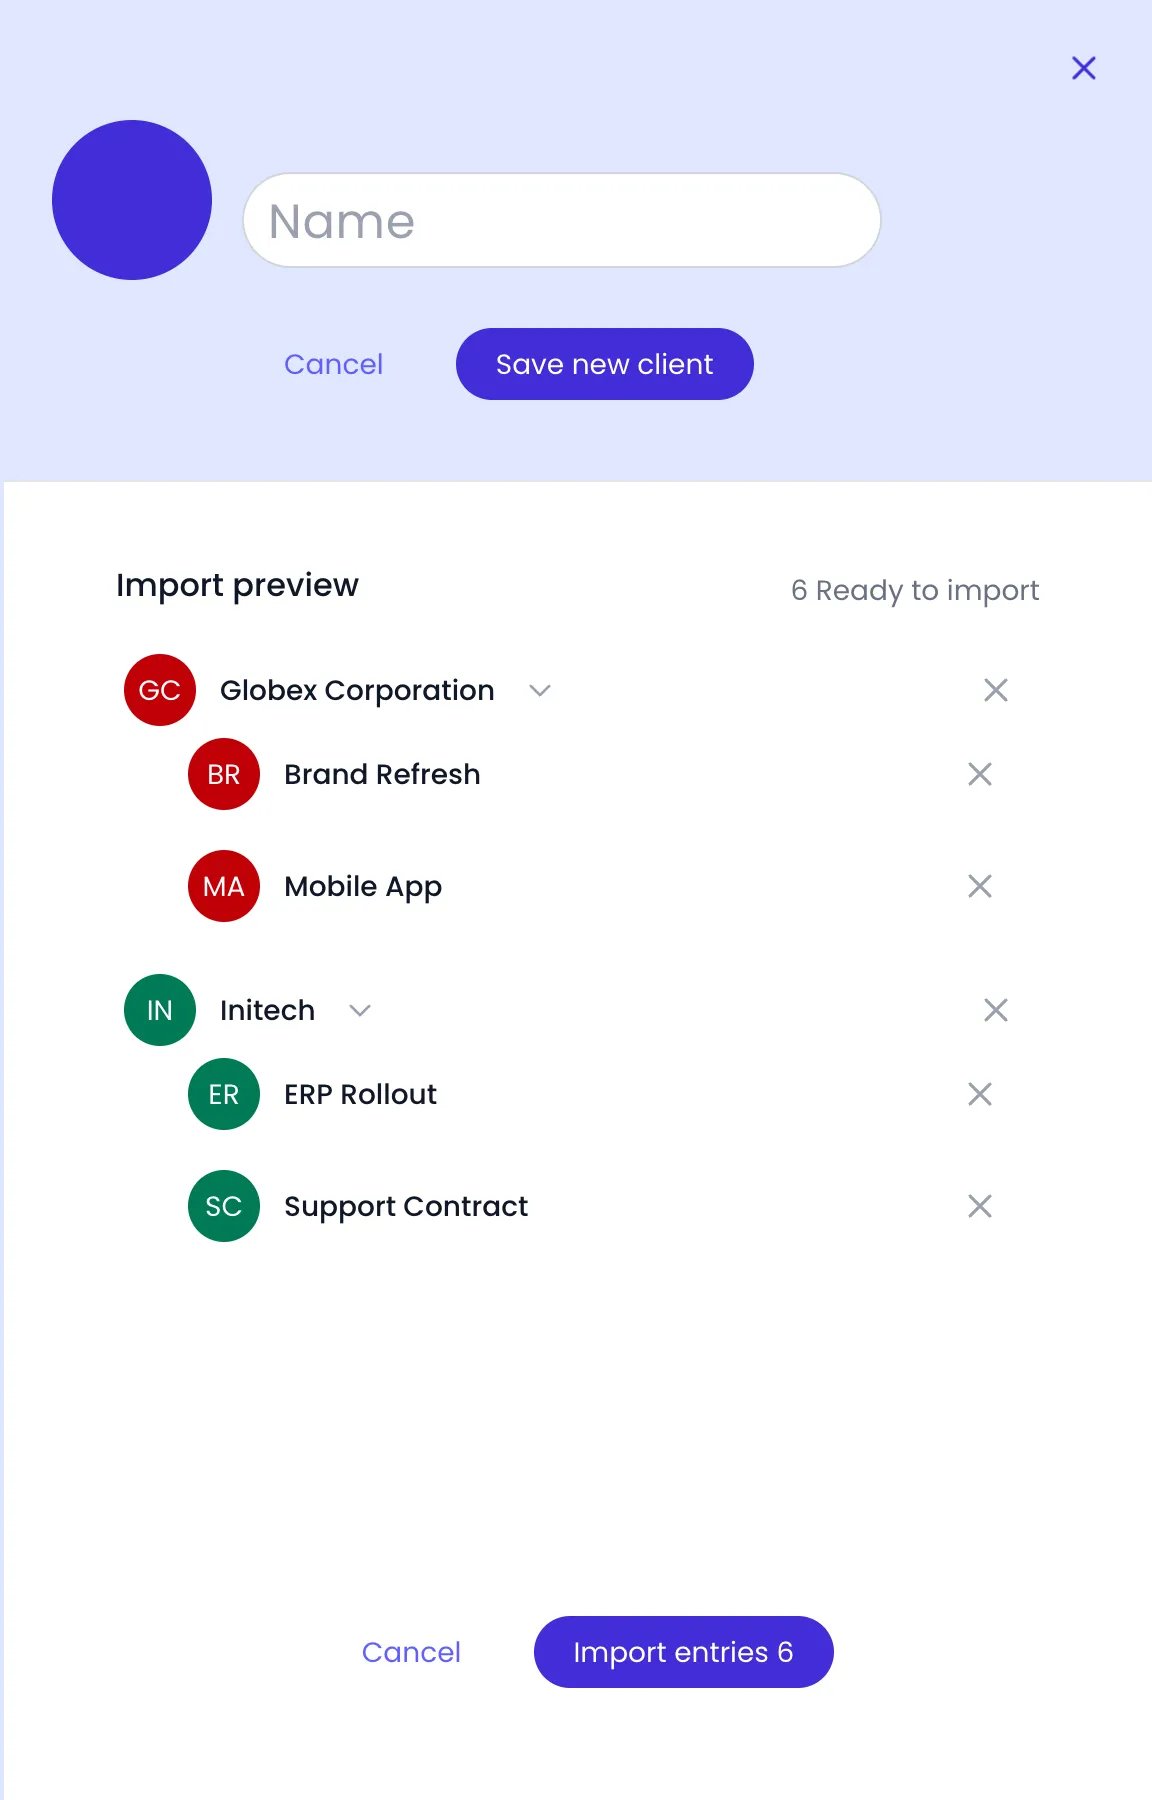
Two clients and their projects pasted from a spreadsheet, ready to import
Managing categories and level names
Click the category name next to the Projects: heading to open the category menu. From there you can:- Switch to another category by clicking its name.
- Add a category — type a name in the field and click Add.
- Rename a category — hover over it, click the pencil icon, edit the name, and click Ok.
- Change a category’s color — click the colored ball in front of its name and pick a color from the palette.
- Delete a category — hover over it and click the trash icon.
Level names
Each category names its own hierarchy levels, and you edit them from the category’s settings. Next to the category name in the Projects: heading, click the gear button — its tooltip is the category name followed by settings, for example Client settings. The button is only shown to people who can manage projects.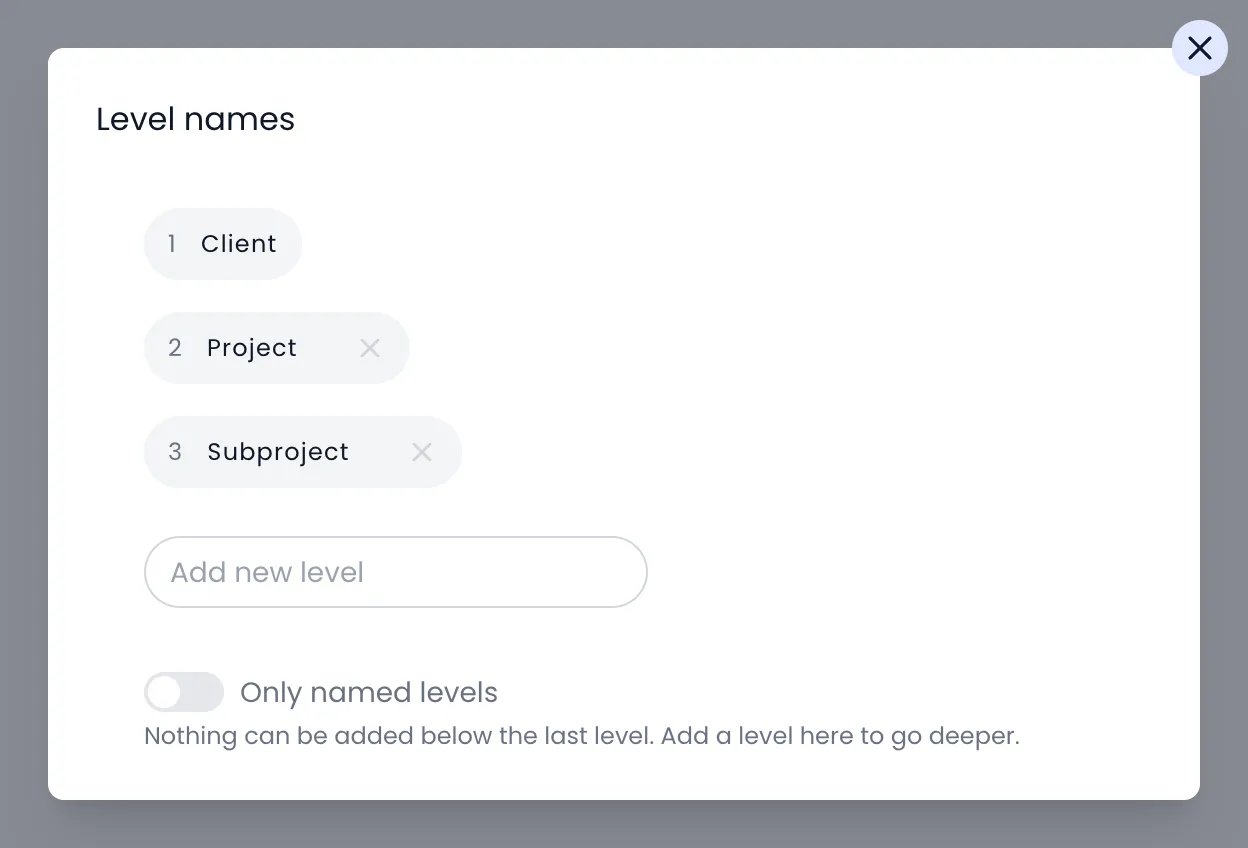
The Level names of the Client category
- Rename a level — click its row, type the new name, and press Enter (or click elsewhere). Press Escape to cancel the rename; the dialog stays open. Renaming row 1 renames the category. The new name applies to that level across the whole category.
- Add a level — type its name in the Add new level field and press Enter. Until you name a deeper level, Beebole labels it after the level above with a Sub- prefix, for example Sub-Subproject.
- Remove a level — click the × at the end of its row. Every row below the category row can be removed, not only the last one.
- Reorder levels — hover over a row to show its gripper on the left, then drag the row to its new place. Row 1 is the category itself and always stays first.
Category colors
Every project category has a color of its own. Beebole assigns one automatically when you add a category (existing categories received one too), and shows it as a colored ball in front of the category name in the category menu, on category rows in project selectors, and on the chip of a filter by project category. To change it, open the category menu, click the ball in front of the category, and pick another color from the palette. Task and tag categories work the same way.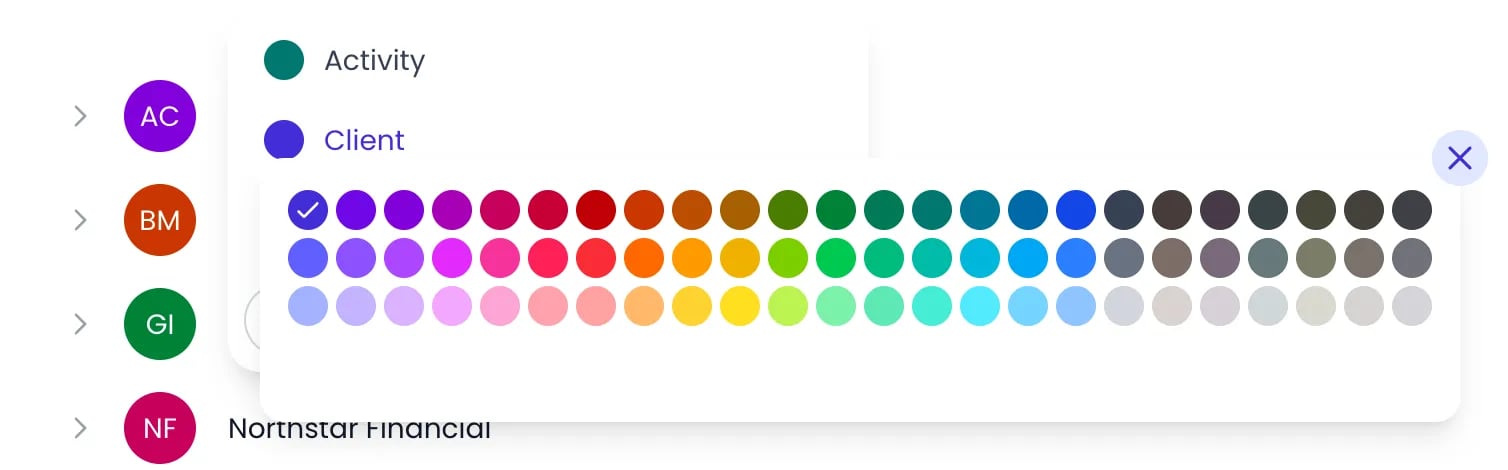
The color palette of the Client category
Picking a whole category
Where projects are picked one by one for a person or tag — the Manages panel, or the Show projects section of the Show or hide panel — the selector also offers the category rows themselves. Click a category row to pick the whole category in one click; the chevron next to it still expands the category if you want a single project instead. Once picked, the category appears as a badge in its own color and its projects are no longer offered separately. A category stands for everything inside it, including projects added later: a person given the Client category in the Projects section of their Manages panel manages every client project, now and in the future. Task and tag categories can be picked the same way. For giving access through a category, see Assignments.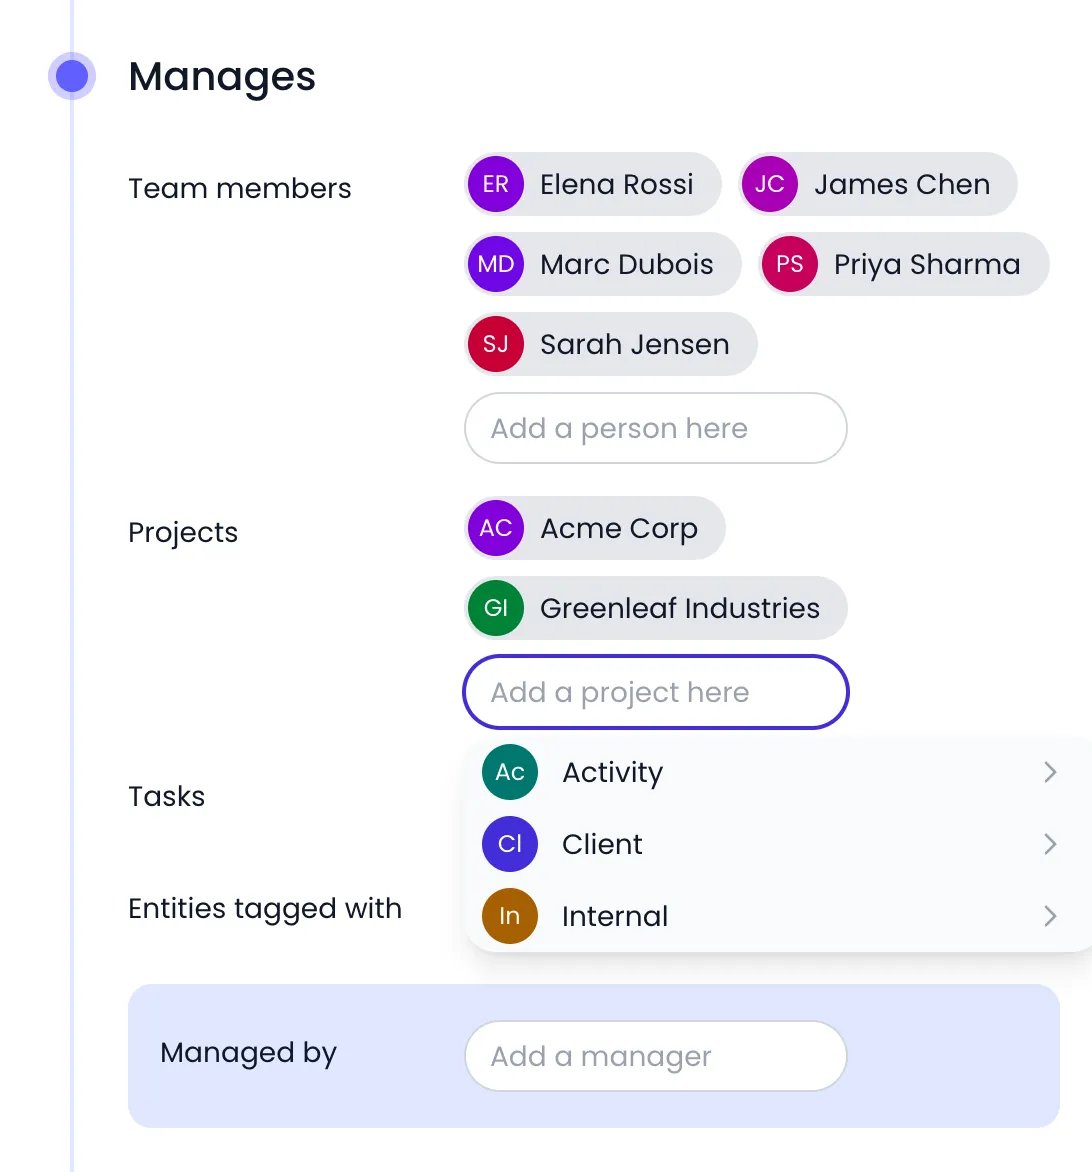
The Projects selector of a person's Manages panel, offering the categories themselves
Moving a project in the hierarchy
You move a project by changing its parent from the project’s detail panel:Open the project
Open the parent selector
Pick the new parent
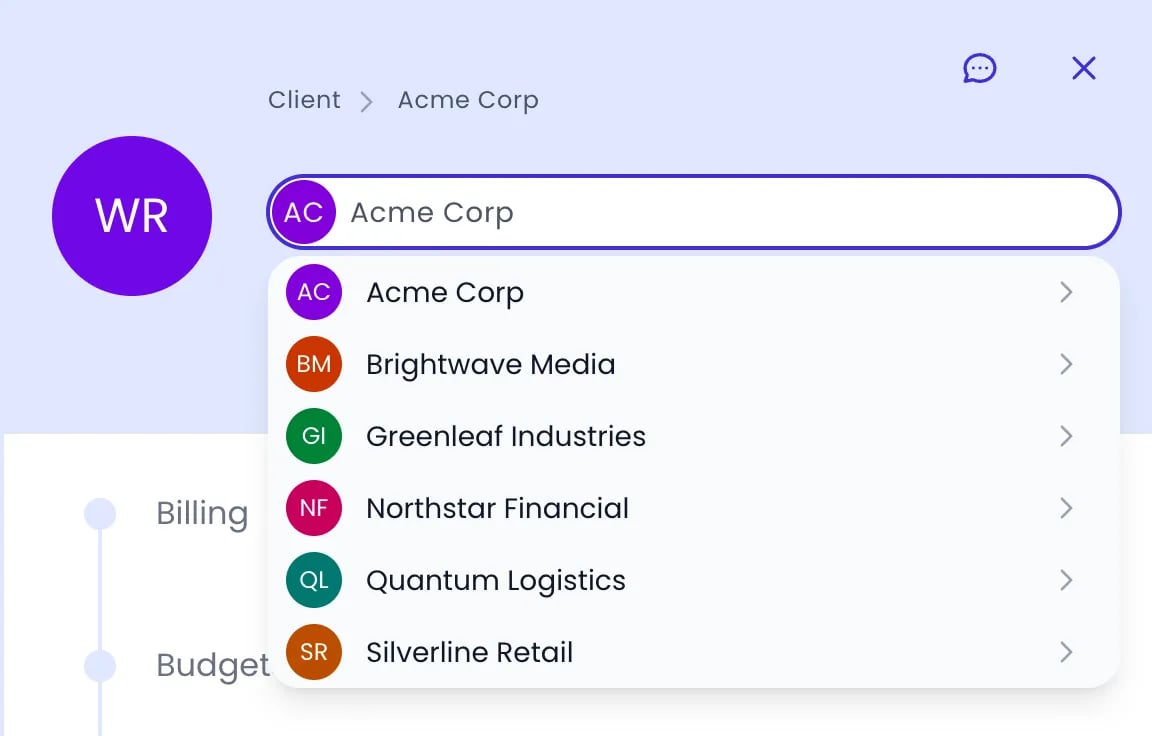
The parent selector of a subproject, opened from the breadcrumb
Project settings
Clicking a project opens its detail panel, which is organized into settings panels. Open panels appear first; the remaining ones are listed below — click a panel’s name to open it. Changes are saved automatically.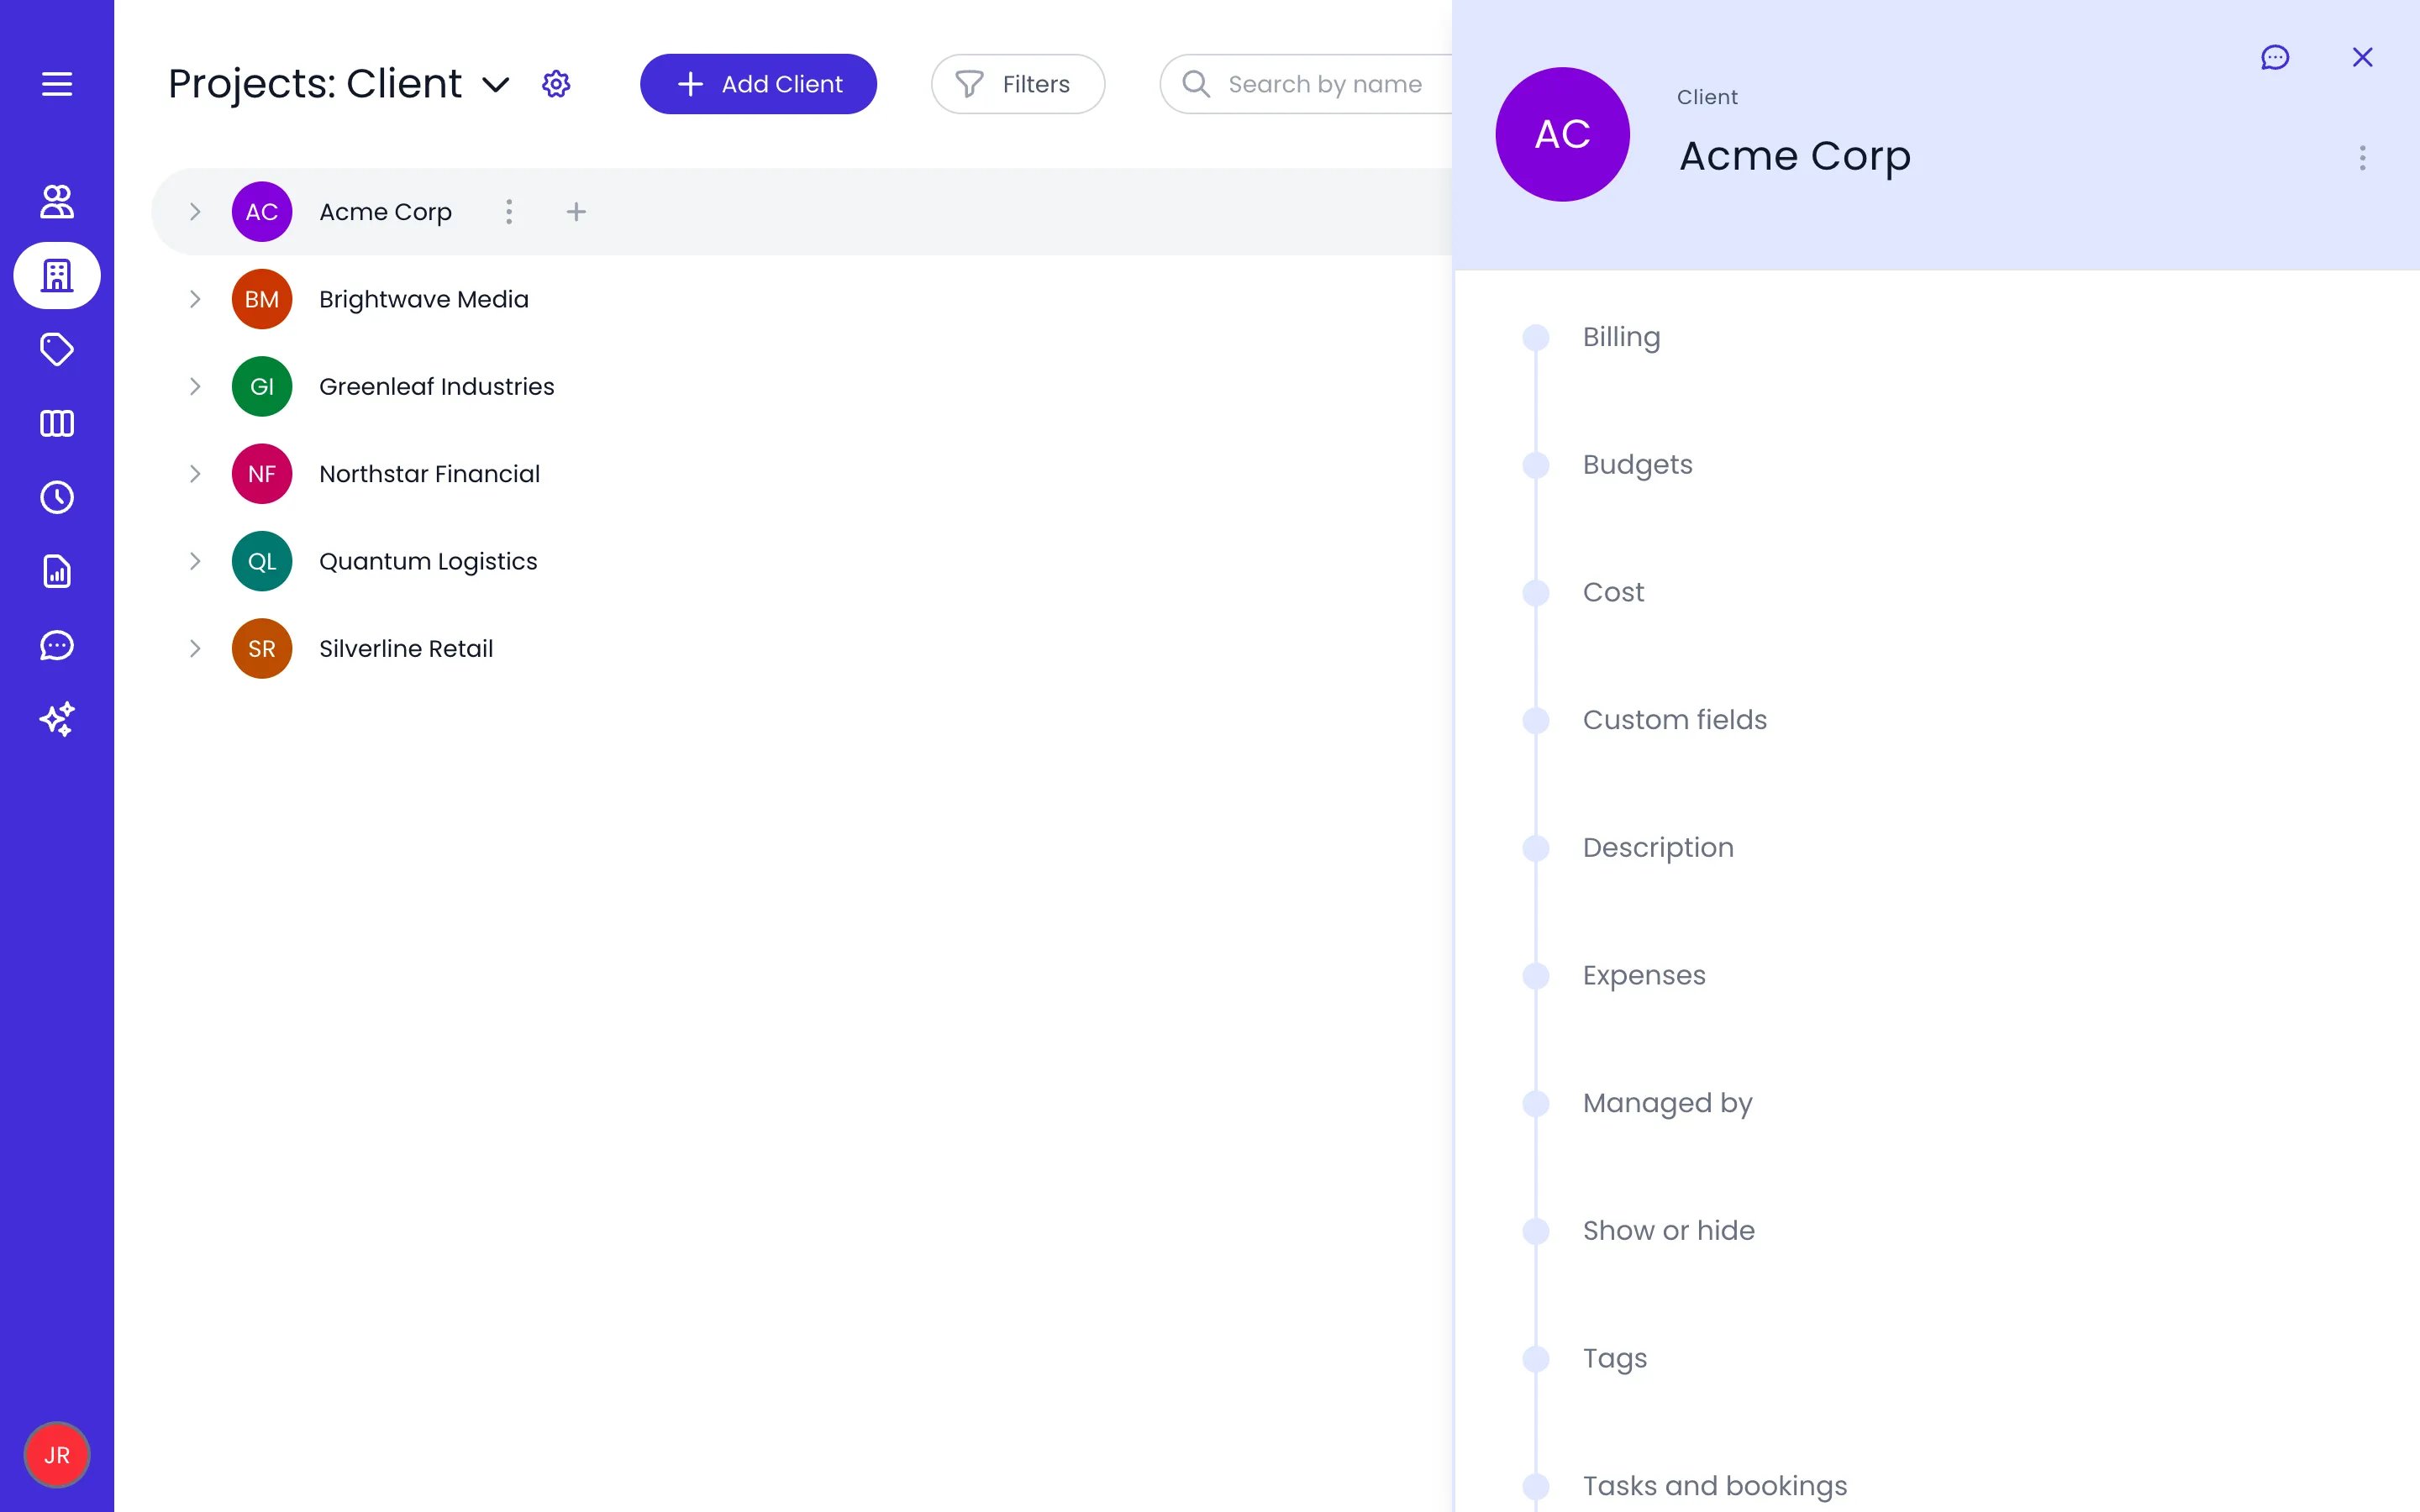
Acme Corp's detail panel with its settings panels closed, listed by name
Billing and cost rates per project
Open the project’s Billing or Cost panel and click Add to create a rate. Choose a method (Hourly rate, Daily rate, or Fixed fee) and optionally split it with Split by persons or Split by projects (the default is No split). A rate set directly on a project overrides rates inherited from tags or the organization. See Billing rates for the full priority order and repeat options.Valid period for time entry
The Valid period for time entry panel bounds when time can be recorded on the project: set a From and/or To date, and entries outside that window are refused with a message naming the project that blocks them. Use it to close a finished project without archiving it, or to open a project for booking only from its actual start date. The window set on a project also applies to its subprojects; when several projects in the chain define one, the most specific project’s window wins. People can carry the same setting — see People.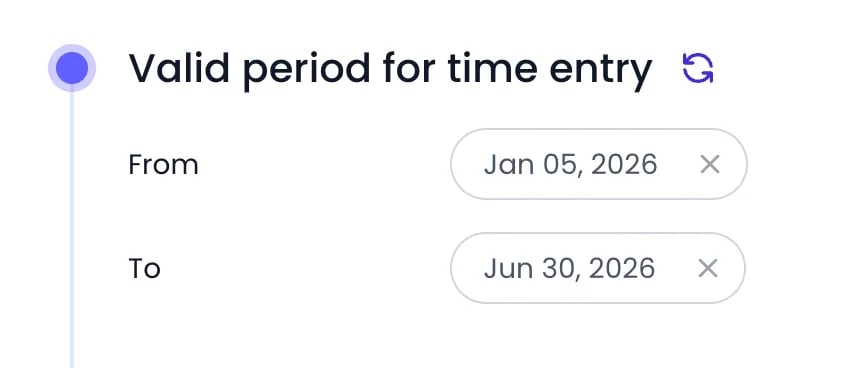
A project closed for time entry after June 30
Custom fields on a project
The fields shown in the Custom fields panel come from the field definitions in your account — you fill in values there, but you create and scope the fields themselves in Settings > Custom Fields. Custom field values appear as dimensions and filters in reports.Tasks and bookings on a project
The Tasks and bookings panel lists every active task and booking linked to the project, grouped by planning. A planning holds either tasks or bookings, depending on its mode: a task is a unit of work with a name and a status, while a booking is a person planned on a project for a period and is named after that project and person. Tasks and bookings marked Done are not listed. The panel is available to people who can view tasks; adding and removing require the permission to manage them.- Add one — each planning has a + button (its tooltip reads Add to followed by the planning name, for example Add to Main plan). It opens the add form of that planning on the Planning page with the project already filled in: a Bookings planning asks for a person (Select the owner) and a date range, fills in the planned time from that person’s work schedule over the range (you can change it), then Add Booking; a Tasks planning asks for a name, then Add Task.
- Remove one — hover over its badge and click Unassign. This only unlinks the task or booking from the project; it still exists in its planning.
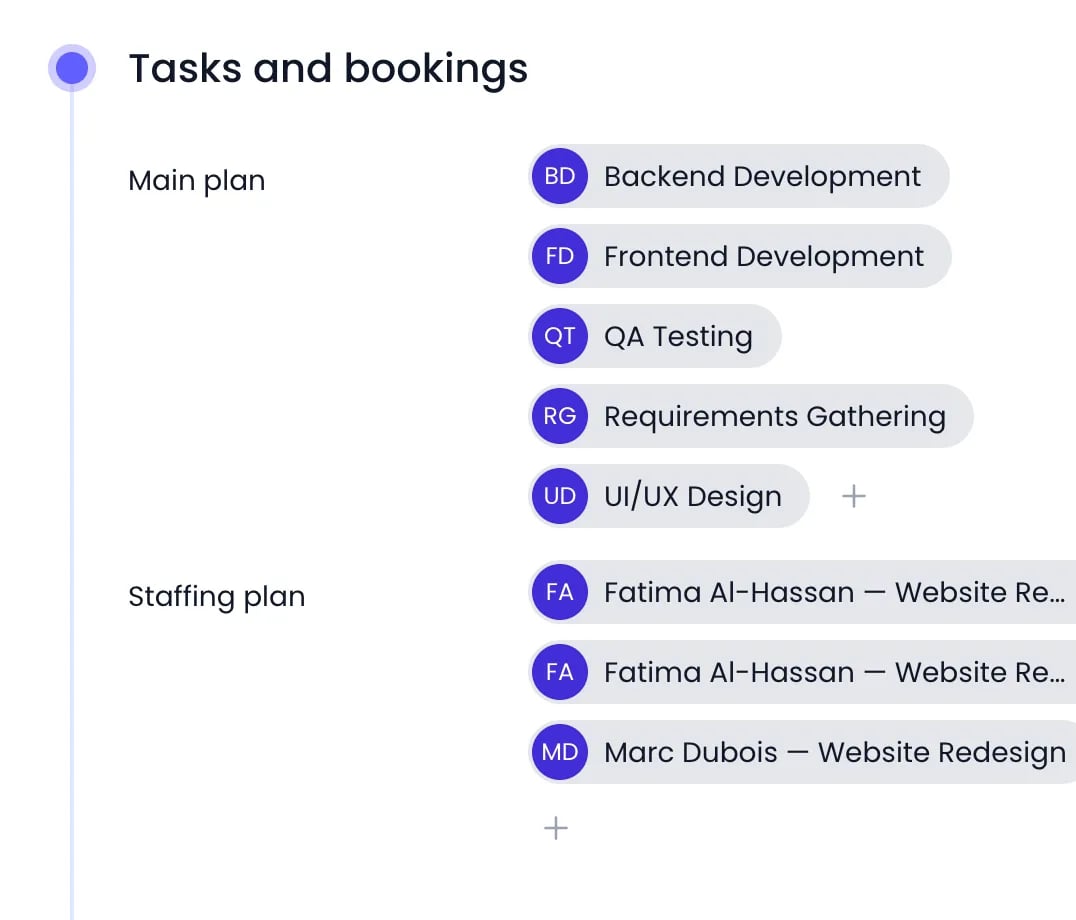
The tasks of the Main plan planning and the bookings of the Staffing plan linked to a project, each with the button that adds another
Controlling who can track time on a project
The Who has access? panel decides who can use the project:- A toggle switches the project between Available to everyone and Unavailable to everyone. The default comes from your organization’s Show or hide by default settings.
- Individually — add specific people with the Select person field.
- By tags — make the project available to everyone in a tag with the Select tag field.
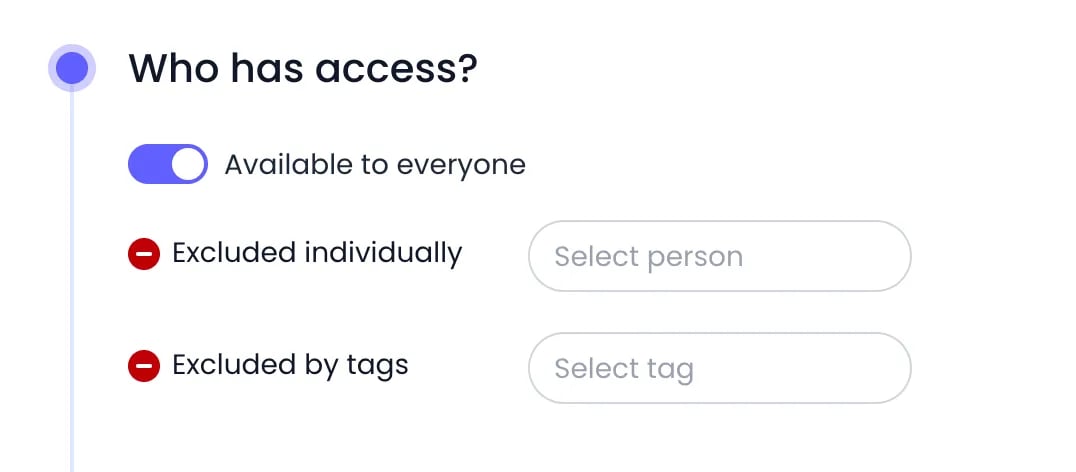
Acme Corp is available to everyone, so the panel lists exclusions
Duplicating, archiving, and deleting projects
Each project has a ⋯ action menu — it appears when you hover over the project’s row in the list, and next to the project name in its detail panel. It offers:- Duplicate — create a copy of the project.
- Rename — edit the project name in place.
- Go to tasks — open the Planning page filtered to this project’s tasks and bookings.
- Archive / Unarchive — retire the project or bring it back.
- Delete — remove the project.
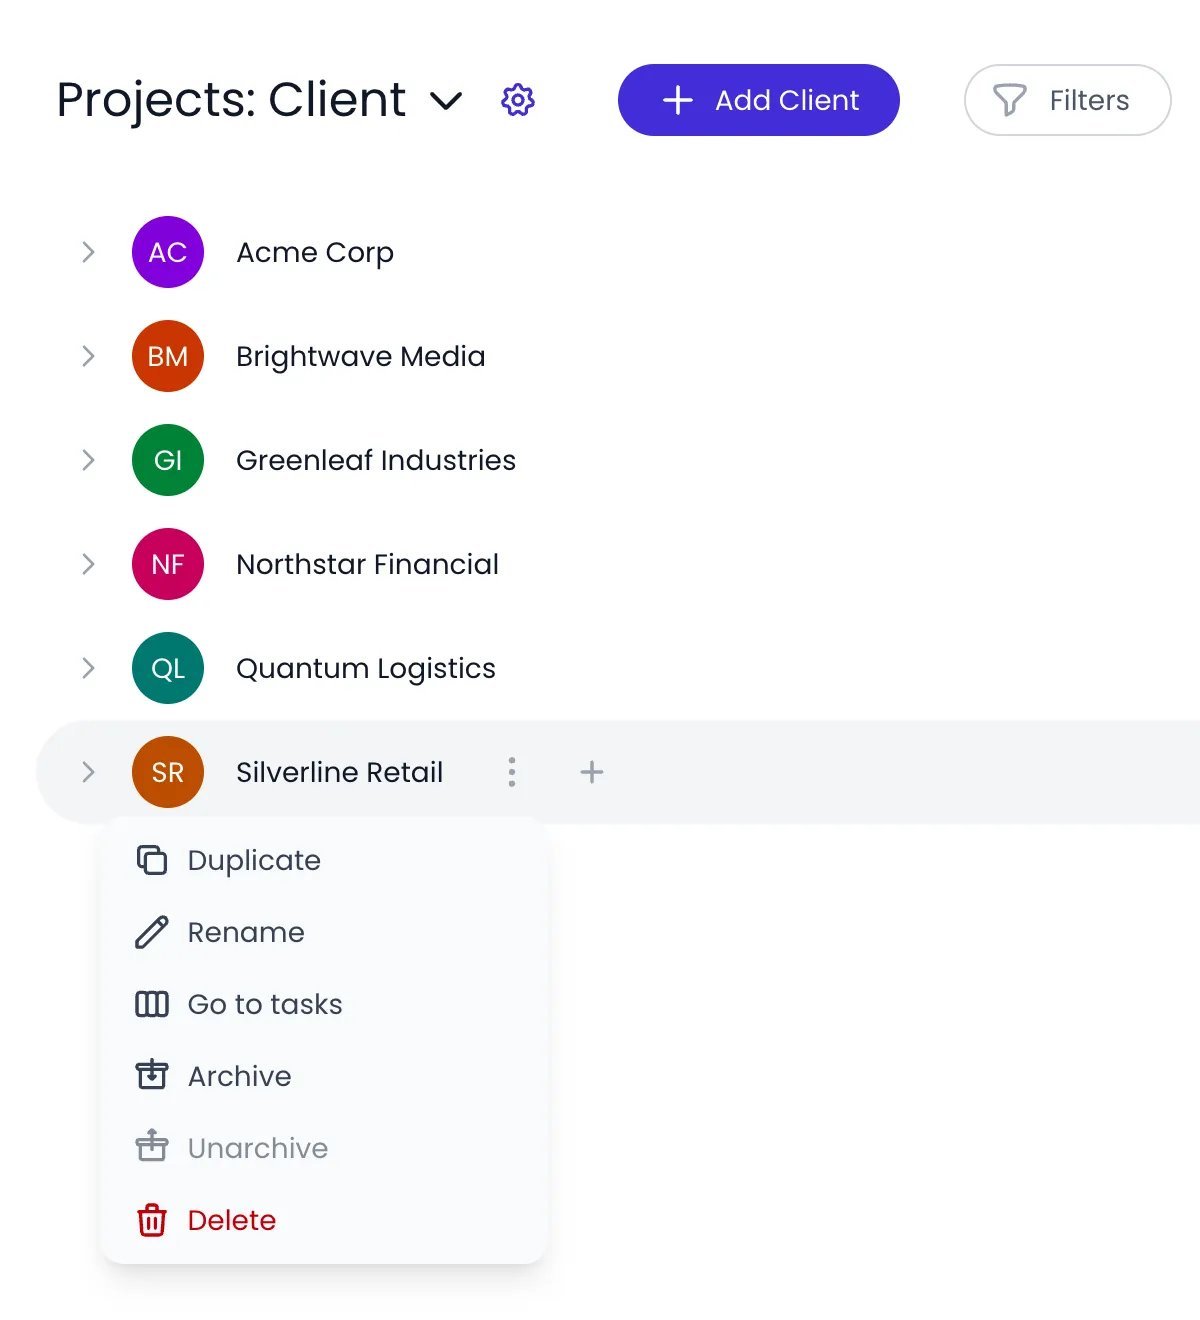
A project's action menu in the project list
Related content
Tags
Budgets
Billing rates
Assignments
Frequently asked questions
How deep can the project hierarchy go in Beebole?
How deep can the project hierarchy go in Beebole?
Can I move a project to a different category?
Can I move a project to a different category?
Can I restrict which people track time on a project?
Can I restrict which people track time on a project?
Can different people have different billing rates on the same project?
Can different people have different billing rates on the same project?
What happens when I archive a project?
What happens when I archive a project?