How to Create a New Schedule
Schedules can be created via the Schedule Settings module on the “Settings” page. If the module does not appear, you can add it by clicking “Customize” in the top right corner and dragging and dropping the module anywhere on the screen. By default, this module displays a schedule of 8 hours per day, 40 hours per week, and non-working days on Saturday and Sunday. Defining the number of hours per day and/or hours per week will allow you to:- Require that your employees submit at least a certain number of hours per day and/or per week. You can activate this requirement using the Timesheet Settings module.
- Use the On Time feature to motivate employees to fill in their timesheets on time.
- Defining hours per day will also allow you to display reports and exported files using the unit of days rather than hours.
 Under “Advanced Schedules” click the “Add a new schedule” button, which will take you to the Schedule Details module.
 At the top of the module, you can give your schedule an easily identifiable name and position it in the calendar. This determines which day of the week your schedule cycle begins on. It will begin on a Monday by default.
Under “Duration” add the total number of working hours for each day. If you need to define a rolling schedule for more than seven days, new rows will be added automatically as you fill them in.
NOTE: If you are using the decommissioned version of work schedules that includes start and end times, and you need assistance, please contact our team directly.
At the top of the module, you can give your schedule an easily identifiable name and position it in the calendar. This determines which day of the week your schedule cycle begins on. It will begin on a Monday by default.
Under “Duration” add the total number of working hours for each day. If you need to define a rolling schedule for more than seven days, new rows will be added automatically as you fill them in.
NOTE: If you are using the decommissioned version of work schedules that includes start and end times, and you need assistance, please contact our team directly.
How to Assign a Schedule
Creating a new schedule does not mean that it has been assigned to employees. To** assign schedules**, use the Schedule Assignment module. You can add the module to a person’s page or to a company branch page to assign the schedule to all employees in that branch. To assign the schedule, click the “Assign new schedule” button and select from the list of previously created schedules. If you’d like to assign different schedules for different times of the year, click on the calendar icon and select the start date for the given schedule assignment. For example, you can set a special summer schedule that runs from July 1st to August 31st and then switch back to a normal work schedule for the rest of the year.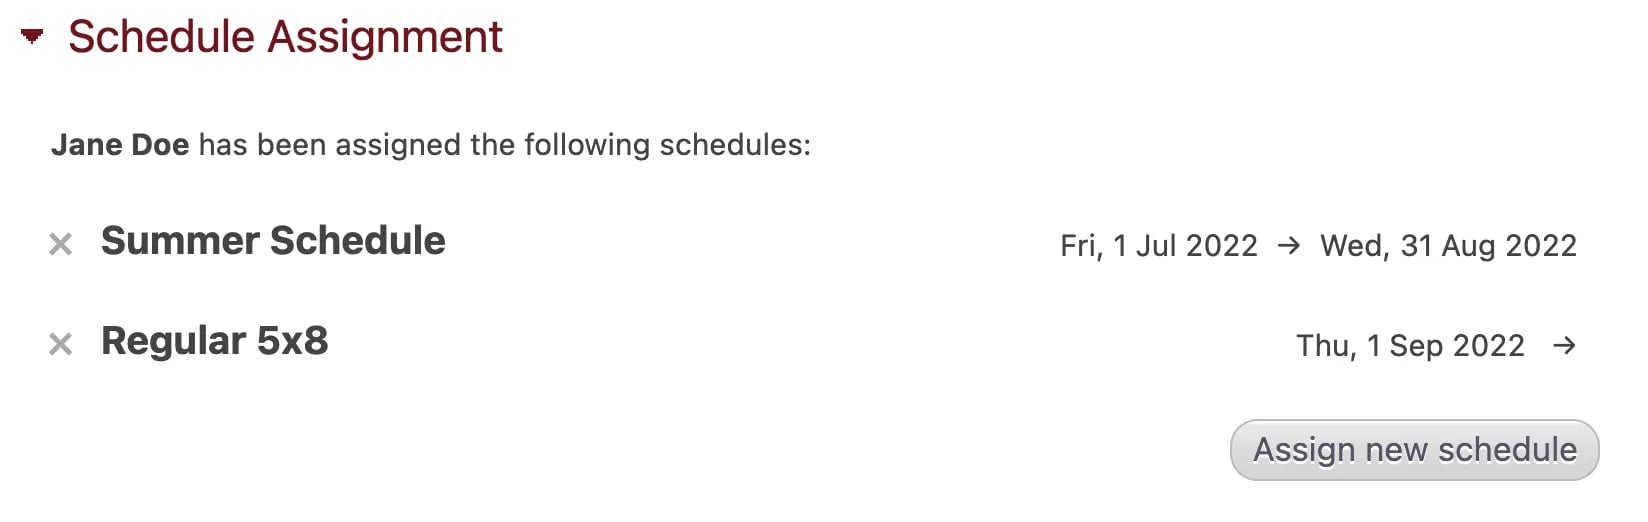
Viewing Work Schedules on an Employee Page
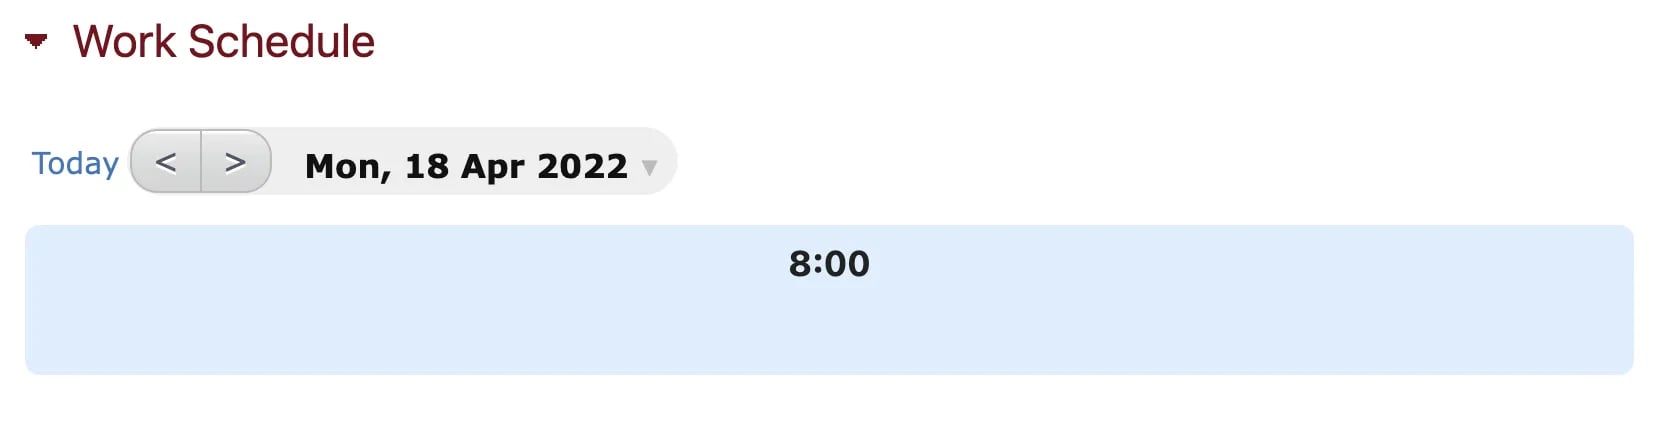
The Work Schedule module is a read-only module that can be added to an employee’s page and shows them their assigned schedule per day.