Tips for Effective Onboarding
Without effective onboarding, your team is unlikely to track their time correctly or at all. Even with great time tracking software, companies that don’t correctly onboard their employees are usually unhappy with the results. So here are our tips and recommendations for successfully onboarding your team to Beebole. Video resources that may be helpful for onboarding can also be found on our website.Clearly communicate why employees need to track time
We could go on and on about the benefits of time tracking for an organization, but we’re sure you’re already familiar with them (you are here after all!). Now the key is to go and share those benefits with your team. Our users track time to help with billing and administration, identify profitable and costly projects, improve budgeting, understand which employees might be overworked or underutilized, and so much more. Whatever your specific goals and motives might be, share them with your team and help to clarify any questions they have.Be equally clear about responsibilities and obligations
It can be tough, but if you are going to put a time tracking policy in place, enforcement is key. Depending on the organization, you might even want to have employees sign a written agreement. Being too laid back or vague can lead to inaccurate or non-existent timesheets and frustration for employees and managers alike.Create an entity hierarchy that’s easy for your team to follow
Before you add people and invite employees to Beebole, it’s essential to configure a clear entity hierarchy. Of course, companies, projects, and tasks can all be edited or added at any time, but it is best to start with a clearly defined framework. If you can, avoid excessively long lists of projects and tasks or project names using codes and numbers. Otherwise, be sure to provide a searchable legend and configure permissions so that employees can only see the entities that they track time for.Consider inviting one team at a time
Once you’ve completed the steps above, it’s time to invite people to start tracking their time. Depending on the size of your organization, you may want to onboard one team at a time or ask a few departments to serve as a beta group. For example, some companies have only their HR or IT teams use the tool for the first month. This is helpful in identifying issues and resolving any questions that might arise before onboarding the whole company.Assign roles and permissions
Be sure that all authorizations and permissions are correctly configured before employees begin tracking time and submitting timesheets. Remember that you can limit the entities visible in a person’s timesheet, assign team leaders and project managers, and customize screens for each user group. Beyond that, be sure to communicate who is responsible for reviewing and approving submitted timesheets for each department or team, monitoring time off, budgeting, submitting hours to payroll, etc.Send reminders to keep your team on track
Whether your employees are submitting timesheets on a daily, weekly, or monthly basis, you can schedule automated email reminders for them to submit their hours. It’s an easy and effective way to keep people accountable.Be a cheerleader and share what you’ve learned
If you followed step one, your team already understands the company’s time tracking objectives. So don’t forget to update them on the progress made towards these goals. Whether by email or in person, share any relevant reports, insights, or changes. Ask for feedback on how time tracking could be easier or more efficient for everyone, and thank your team for their effort.Inviting Employees
Adding employees to Beebole is a breeze using the People module on any company page, or the Add a Person module on your home screen. Once you have added a person, use the User Details module on that person’s page to send them an email invite.Assigning Roles and Permissions
Once you have added a person to Beebole, you can select a role or “User group” for them via the User Details module. A person can be an administrator, team leader, project manager, contractor, or employee. The user group determines a person’s default permissions and access rights, however, these can be modified. Permissions and access rights can be configured in three ways:- Control the clients and projects visible to people in their timesheets.
- Give project managers and team leaders access to their respective teams and projects.
- Configure which modules are available to each user group.
Setting Reminders and Incentives
Beebole offers a few ways to encourage employees to submit their timesheets. If you haven’t already, take a look at our tips for effective onboarding as well. First, you can configure periodic automated emails to remind users to submit their timesheets, whether daily, weekly, biweekly, or monthly. This can be done using the Timesheet Settings module in the Settings screen. You can also send one-off reminders to specific people via the *Approval *module. Click on the “Draft” tab and select the users to whom you want to send the reminder. Then click the “Reminder” button. They will immediately be sent an email asking them to submit their timesheet. Finally, the On Time feature helps you to motivate employees to submit their timesheets on time using a point system. Use it for a little healthy competition amongst team members, or simply for administrative purposes to spot employees who submit late on a regular basis.
Configure it using the On Time Settings module in the Settings screen. You can add the module to your screen by clicking “Customize” in the top right corner and dragging and dropping the module anywhere on the page.
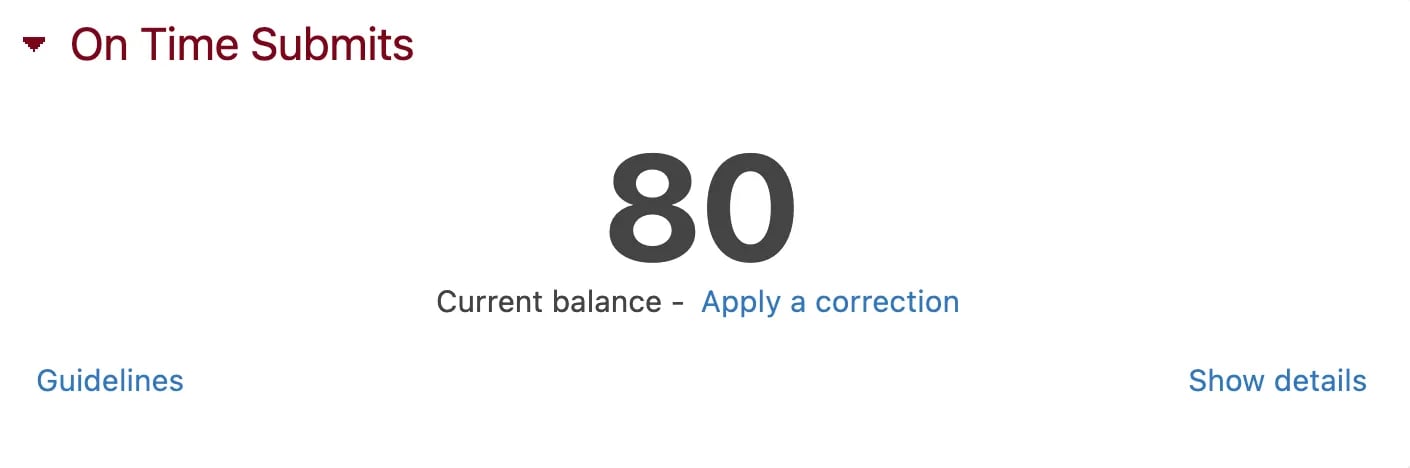
Finally, the On Time feature helps you to motivate employees to submit their timesheets on time using a point system. Use it for a little healthy competition amongst team members, or simply for administrative purposes to spot employees who submit late on a regular basis.
Configure it using the On Time Settings module in the Settings screen. You can add the module to your screen by clicking “Customize” in the top right corner and dragging and dropping the module anywhere on the page.
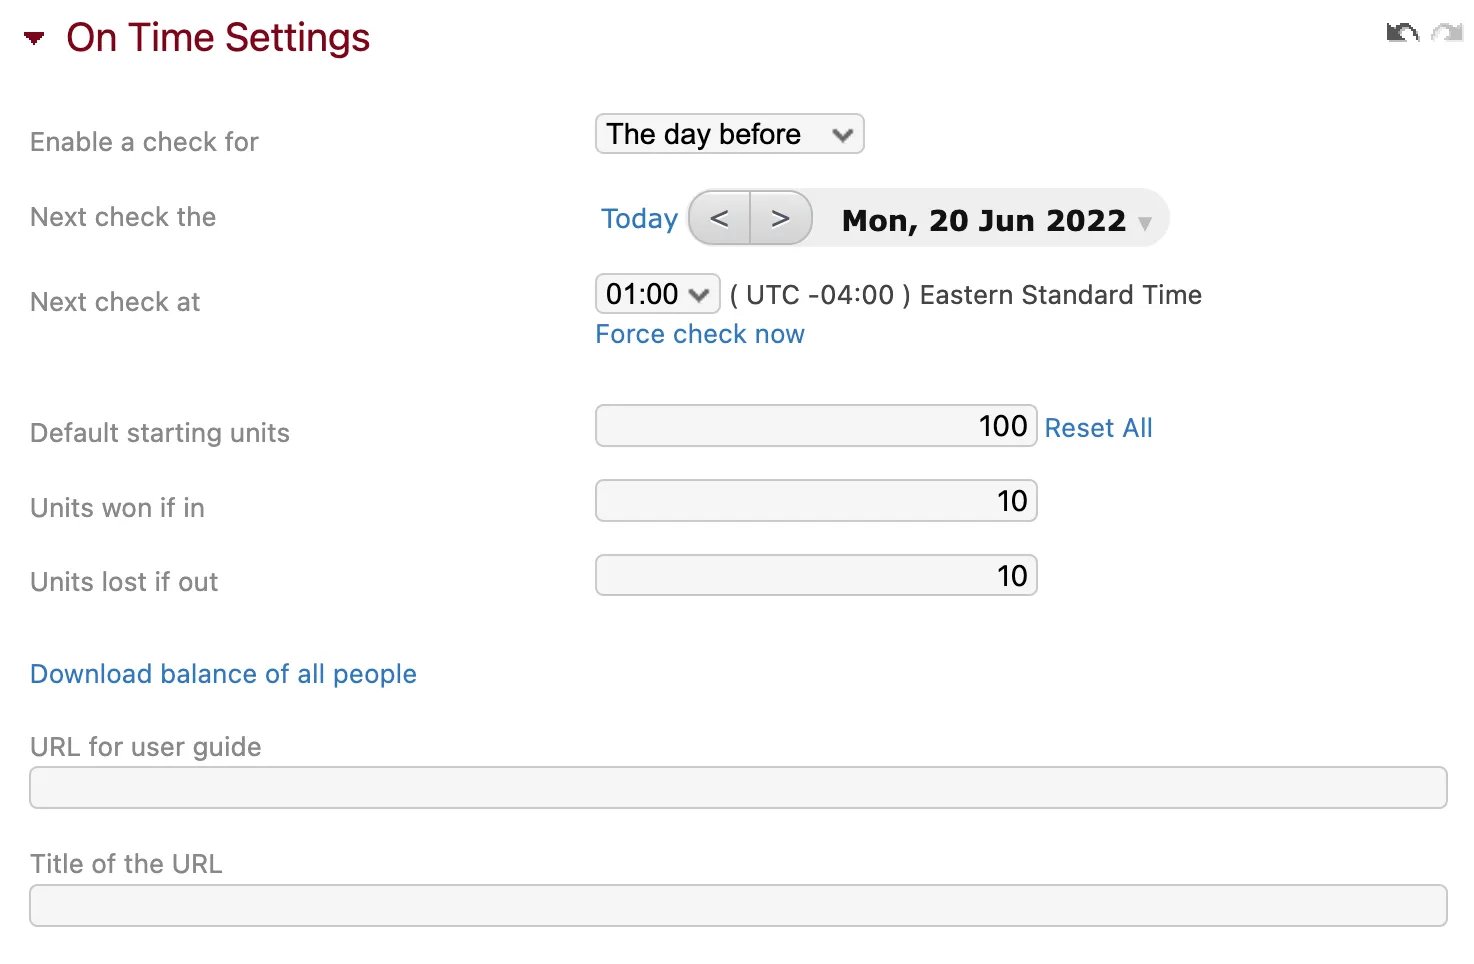
- Select whether you want to “Enable check for” the day before or the week before, to check if employees have submitted timesheets on a daily basis or a weekly basis, respectively. The number of hours used for these checks will be based on the “hours per day” and “hours per week” that you have configured in your Schedule Settings* *module. If the week includes a holiday, the required hours will be adjusted accordingly.
- Select the date and time for the next check. Today’s date appears here by default, and the time zone is whatever you have configured in your company’s Localization module.
- A “Force check now” option also appears here, which will perform a manual check if clicked.
- Define the “default starting units”. This is the number of “points” that each employee starts with. You can also leave it at 0. By clicking “Reset all” you will reset all employees to the starting balance, for example at the beginning of a new year.
- Choose the number of “Units won if in” and “Units lost if out”. In other words, the number of points employees gain when they submit their timesheets on time, and the points they lose when they submit their timesheets late. Either amount can be 0. To see the current point totals for all employees, click “Download the balance of all people”.
- If you have a written policy, explanation, or other relevant documentation that you’d like employees to have access to, you can add the URL for it under “URL for user guide”. Add the anchor text under “Title of the URL”. This link will now appear in the On Time Submits module of all employees.
Custom Module
The Custom Module allows you to **embed customizable static or dynamic content **including text, documents, images, video, or even web pages using HTML. It can be added to your home screen or to the page of any company, project, or person. The module can be a great tool for communicating with your team, such as sharing company policies, a weekly newsletter, Google calendars, updates from HR, or news about training and seminars, etc. You can even display elements of PM or CRM tools on certain client or project pages. Some knowledge of HTML is required, but we’ve included a few examples below to help you get started. Once you have configured a custom module, you can share it with team members using the User Screens module.- Static HTML: This will allow you to add any kind of message in the format you want. For example:
<html>
Embed a Google Calendar in Your Timesheet
Check out our tutorial to display a Google Calendar in your Beebole dashboard
- A hosted video: Video can be a great tool for internal communication. The Custom Module can display a video from YouTube, Vimeo, Wistia, or any other video platform. The steps are more or less the same for all platforms; look for the option to embed and copy and paste the iframe text. An example with step by step instructions for YouTube videos is available in the article below.
Use the Custom Module to Share Videos With Your Team
Make video part of your internal communication strategy by following these steps